Secret Floors Guide (Hidden Chambers)
Complete guide to all secret floors (hidden chambers) in Enter the Gungeon — the Oubliette, Abbey, ???, and R&G — with step-by-step access, tips, and rewards.
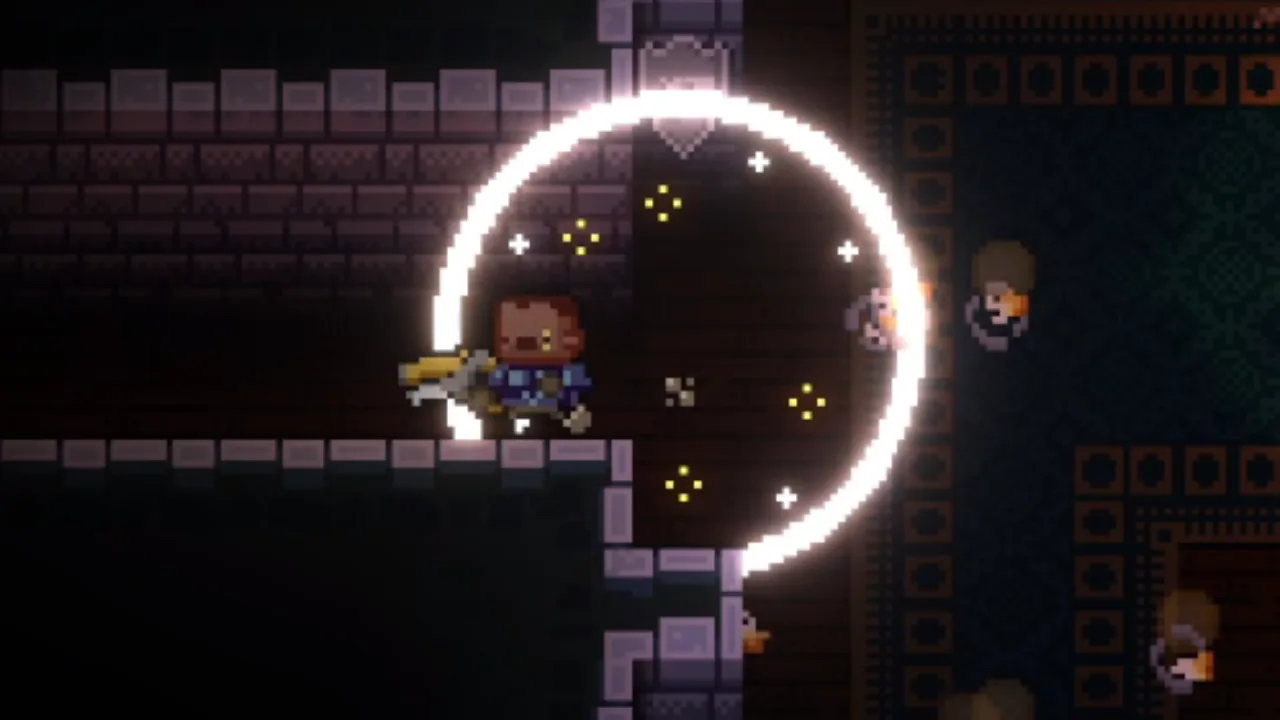
Enter the Gungeon has a hidden chamber between each main floor (1.5 through 4.5). Defeating any secret floor boss flawlessly does not reward a  Master Round. This guide covers the requirements, step-by-step access, important notes, and first-visit rewards for each one.
Oubliette
Located between Keep of the Lead Lord and Gungeon. Sewer-style layout full of garbage bags, toxic puddles, and harmless  Bullet Kin variants.
Cost: 2 keys (or  Trusty Lockpicks /
  Drill as substitutes)
Steps to enter

- Chamber 1 always contains a fireplace room — find the blue water barrel inside or in an adjacent room
- Push the barrel next to the fireplace to extinguish the flames
- Crawl into the fireplace and interact with the hidden switch

- A hidden room with a trapdoor appears on the map — the trapdoor has two locks, each costing 1 key (2 total); Trusty Lockpicks or a Drill can substitute for normal keys
Notes
- Water barrels are fragile — enemy attacks and explosions destroy them, so position carefully during room clear
- If the barrel is gone, use
 Mega Douser,
  Coolant Leak
 - After your first visit, the water barrel usually spawns inside or directly adjacent to the fireplace room on all future runs
Rewards and unlocks
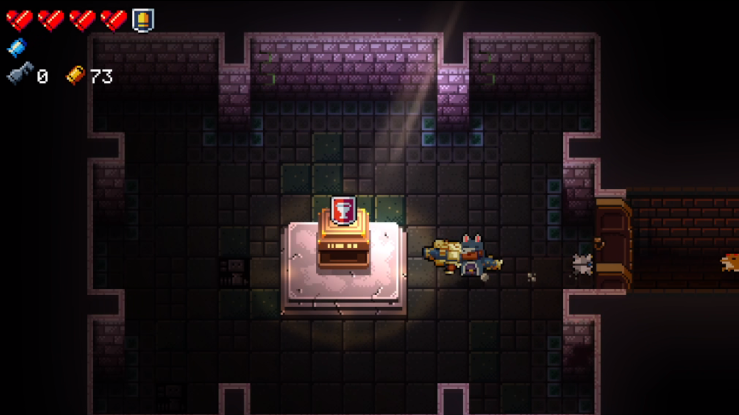
- A small fixed room inside the Oubliette always contains the
 Old Crest, required for the Abbey
 - First visit unlocks
 Trashcannon
Abbey
Located between Gungeon and Mines. Gothic monastery aesthetic with stronger enemies than the surface floors.
Steps to enter
- Pick up the Old Crest from its fixed room inside the Oubliette — it occupies an armor slot and disappears the moment you take any damage
- Carry the Old Crest through the rest of the Oubliette and all of Chamber 2 without being hit
- Find the altar room on Chamber 2 — it contains seven large bullet warrior statues and looks one cell larger than a normal room on the map; it tends to appear near a shop or chest room
- Place the Old Crest on the altar to open a staircase leading into the Abbey
Notes
- Any hit destroys the Old Crest — if you're already low on health when entering the Oubliette, consider whether the escort is realistic
- Some rooms inside the Abbey contain permanently Jammed enemies regardless of your Curse level — they deal and take significantly more damage
- The Abbey always has a hidden room containing
 Brother Albern; opening his chest yields
  Lies. This room spawns independently from normal secret room generation, so multiple secret rooms in one Abbey run are common
Rewards and unlocks
- Boss drops both a normal boss reward and a
 Synergy Chest
 - Simply entering for the first time unlocks
 Blood Brooch and the "Reverence for the Dead" achievement — you do not need to clear the floor
???
Located between Mines and Hollow. Mine tunnel layout with no shops and no normal chest rooms. The most complex prerequisites — plan ahead across multiple runs.
Cost:  Gnawed Key + 1
  Key + 2
  Blanks (the Key can be swapped for
  Shelleton Key,
  AKEY-47, or Trusty Lockpicks; the Gnawed Key has no substitute)
Preparation
- Hard prerequisite: the Gnawed Key does not spawn in the shop at all until you have built the Bullet That Can Kill The Past. You have to finish the four-component run in
 Bullet That Can Kill the Past Guide before this route opens up
 - The Gnawed Key first appears in a Gungeon shop for 1000 coins; payment can be made in installments across runs, and once paid in full it costs 115 coins on every later run. Discount items never lower its price
- The Gnawed Key can be stolen, but not with
 Grappling Hook or the
  Directional Pad hook (see
  How to Steal from Shops); if stolen before it has been paid off once, it returns next run at the price it was at
 - Six
 Infuriating Note are scattered throughout all floors of Enter the Gungeon and appear randomly each run — pick them up whenever they show up. Each note ends with a cheese-wedge arrow indicating one direction in the maze; the more notes you have collected, the more of the correct sequence you know before entering the Lair
Steps to enter
- On Chamber 3, find a room with 2–4 rats running on the ground and clear it
- Reveal the hidden trapdoor by walking repeatedly over suspicious floor tiles (a larger-than-normal dust cloud marks the right tile), spraying liquid on the ground, or using a Blank anywhere in the room — short-range blank effects like
 Blank Bullets won't work, and the trapdoor never spawns in a shop room
 - Open the trapdoor with a Key and drop in
- Walk along the minecart tracks to the end — do not ride the minecart (riding teleports you backwards repeatedly; walking is faster)
- Use one Blank at the dead end to open the first hidden passage. If you have
 Armor, deliberately falling into the nearby pit reveals this passage too, saving a Blank
 - Walk to the next dead end and use a second Blank to open the second hidden passage. This one counts as a separate room with no pit, so the second Blank cannot be saved unless you have another way to hurt yourself
- Open the final hatch with the Gnawed Key to enter the Lair
Notes
 Bloodied Scarf lets you teleport past both hidden passages, skipping both Blanks
- The Lair shows only a rat-holding-cheese animation instead of a real map
- Candle-carrying rats wander the floors — harmless normally (they die on contact and sometimes drop money), but become Jammed and deal contact damage if you carry any Curse
- The maze is a sequence of six rooms, each with a choice of exit direction. Wrong once: sent back to the previous room. Wrong twice: elevator to the Hollow, ending your Lair run
- The correct sequence is fixed per save file and stays the same forever once discovered
Rewards and unlocks
- After defeating the
 The Resourceful Rat, the reward room has eight pedestals with
  Hearts, Armor, Keys, Blanks,
  Glass Guon Stone, and
  Ammo
Ammo - Four special chests in the room require
 Rat Keys and contain
  Elimentaler,
  Partially-Eaten Cheese,
  Resourceful Sack, and
  Rat Boots. Rat Keys only drop during the third Punch-Out phase of the fight, up to six per fight
 - The reward room also has a secret room with a snake hidden behind two locked doors — items can be dropped through the second door, so only one Rat Key is needed to feed it
- Feed the snake 4 guns or items and it follows you as a companion until the
 Dragun fight, where it defects and is absorbed to trigger the Advanced Dragun. That is the route to
  Holey Grail and the "Advanced Slayer" achievement (the other is throwing a
  Weird Egg into fire)
 - The snake refuses
 Busted Television,
  Sponge, and Trusty Lockpicks — do not count on those to make up the four
 - Alternatively, you can kick the The Resourceful Rat into the snake to feed it
- After the reward room you can proceed to the Hollow normally, or spend a Rat Key to skip directly to the Forge
- First visit unlocks Weird Egg
R&G
Located between Hollow and Forge. No connection to the other secret floors.
Cost: 1 Master Round + 2 guns or items (sold to the  Sell Creep in Hollow)
Steps to enter
- Find the Sell Creep in Hollow
- Sell the Master Round and 2 items — the entrance opens immediately after the third item is sold, so sell the Master Round last if you want to keep trading first
Notes
- The cost is steep: a Master Round proves you cleared a boss without damage, and you lose two usable items on top of that
- R&G has no shop and sparse pickups

- The map outline is deliberately shaped like a handgun; after beating
 Agunim there is no exit elevator — you have to throw yourself off the rooftop arena to reach the Forge
 - Only enter when your loadout has clear surplus — if your core weapon or survivability items are borderline, selling them for a bonus floor rarely pays off